drypoint on packaging plastic
I was lucky to discover recently during a trip to Toronto a product for the visual arts found at Above Ground Art on McCaul St. This is simply known as packaging plastic. It is a bit thicker than acetate but is thinner and more flexible than plexiglass.
Knowing that I have several upcoming public art workshops I decided to get a sample piece and try out a drypoint image on this plastic sheet. If this worked out I would get more of this product for workshop participants to use.
My goal was to do something fairly simple in design that I could use as a demo piece. It would also be a surface that I might experiment a bit with a couple of different etching inks. These included Akua intaglio ink (soy) and Caligo safewash etching ink (which is derived from flax).
A photo I had taken last year of a swallowtail butterfly became the basis for the sketch which was placed underneath the plastic.
I noticed that when the thin protective plastic wrapping was removed from the clear plastic the sheet developed a slight bow. Apparently the product was cut from a larger roll into individual sheets. This was a bit of an issue but I compensated by placing double sided clear tape underneath to secure it flat to my working surface and give me good contact with my sketch underneath.
Using various sharp pointed tools including an etching needle, diamond tip drypoint needle and homemade darning needle embedded into the end of a piece of wood dowel I scribed lines into the surface. For the dark areas I rough up the surface using both the diamond point in a circular scribbling type motion using the wrist. I also lightly sanded a few areas with fine grit sandpaper to add a bit more texture.
the butterfly drypoint plate
Below are some of the results in photos. The image at the beginning of this post is a basic black ink print on Maidstone white rag. It was printed using Akua intaglio carbon black with a 25% addition of pthalo blue.
I also experimented with printing the drypoint into a monotype made from a separate plate. A piece of Duralar wet media film was cut to the same dimensions of the drypoint plate. I put some tabs of double sided photo mounting tape in between to keep the top plate from slipping during the application of the thinned akua intaglio inks (made a bit more fluid with the addition of a small amount of blending medium). I used the drypoint below as my guide for where to paint in colours of ink. The monotype plate was carefully taken off and placing a piece of lightly misted rag paper I rubbed the back of the paper using my hand and a rubbing stick to transfer ink.
monotype on duralar wet media film painted
on with a brush using thinned akua intaglio inks
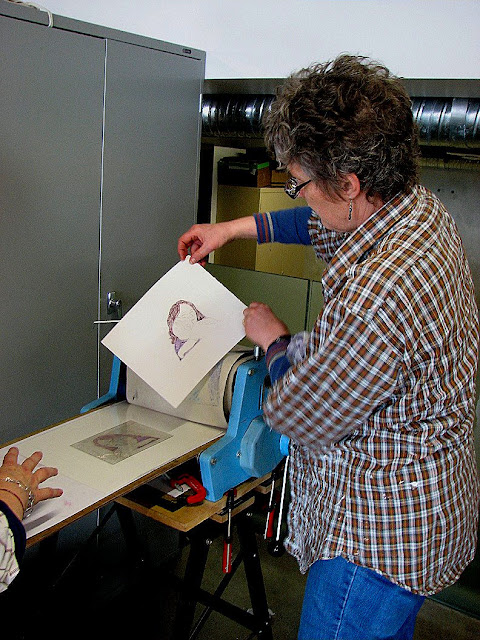
Then I took the drypoint plate and using careful steady hand/eye coordination set that facedown over the monotype. I ever so carefully flipped this over and set it on the bed of my small etching press. I lay the 3 layers of felts over top and passed this under the top roller.
drypoint and monotype
Finally I printed a black and white from the plate but this time around using Caligo safewash etching ink (carbon black) and added a minute amount of wiping compound.
The print was fastened to a thin piece of board and allowed several days to dry. I applied watercolour into the print and came up with the following image that is pretty close to what I see in my photo reference:
Swallowtail butterfly
hand coloured drypoint
2013


