 |
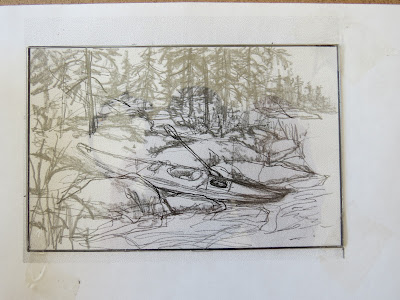
| Kayak on shore, drypoint 2021 |
Recently a friend of mine and I were talking about kayaking.
Our conversation led me to reminisce about a few outings I had made in a kayak not so long ago. I remembered there were a few photos taken during my excursions that had been kept on file. I thought maybe it was time to incorporate the subject into some type of art work. I made a quick sketch while looking at one photo of the kayak I had been using at that time. I also looked at a few landscapes and waterway photos.
 |
| rough sketch in pencil |
I had a small piece of 2mm thick clear acrylic plate (framing plexiglass) and decided to take the sketch and configure it to create a small dry point study on the surface of that plate. To achieve this I first scanned the original sketch and with the graphics editing program I use (Corel draw) resized this to fit the dimensions of the plate (2.75 x 4 inch rectangle).
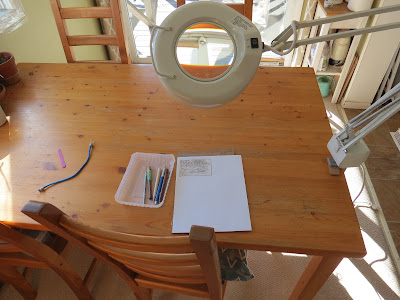
On the reduction size inkjet print out of the sketch I then added more elements in pencil that would define more trees, rocks and such. The plate was set over top of the sketch and taped in place (with tabs of clear cellophane in the corners to anchor it to my drawing board). I set this underneath a lit magnification swing-arm lamp and started working the surface (with the sketch underneath as my guide). I used a variety of sharp tip needle tools to achieve this.
the area and table where I do my preliminary work before printing
 |
| detail of scratch into the surface of the plate |
The composition was altered with a needle instead of a pencil and on a plastic surface instead of paper. I added fine dot by creating areas of stiple marks in the surface using fast repeated pocking with the mechanical pencil anchored needle tip.
The plate edge was then beveled to a 45 degree angle with a shop file and the corners of the plate were also slightly rounded.
The plate edge was then beveled to a 45 degree angle with a shop file and the corners of the plate were also slightly rounded.
I applied Cranfield Safewash carbon black ink with a rolled felt dabber and wiped this back with a softer web type fabric (instead of tartalan cloth which would have left fine surface scratch marks in the acrylic. I immersed a few pieces of 250 gm cotton rag into water then blotted them with cotton towels and set them between newsprint.
 |
| plate reversed (inked side on the bottom of plate) after first proof pulled on paper with press |
 |
| first proof - notice how the ink prints darker tone in areas around shoreline rocks and in the trees due to the burr from the plate surface. |
 |
| the third print from the plate. Less contrast and gentler wiping reveals more of the line and dot work. |


I like how the stippling adds volume to the rocks. Very nice -
ReplyDelete