 |
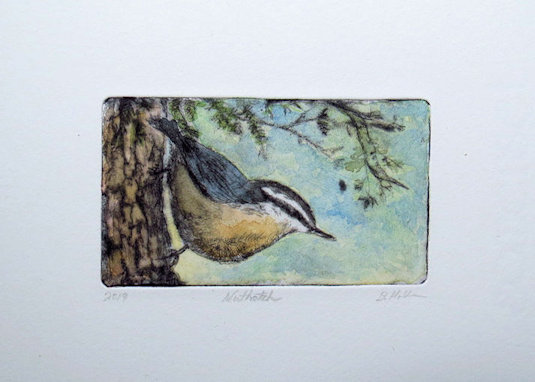
Nuthatch
metal plate drypoint with hand-colouring
|

During the process of cleaning off some old ink I noticed that rinsing the plate in hot water caused the hardened polymer on the plate surface to soften. I wondered if it might be possible to remove the polymer altogether so made it a mission to figure out how this might be achieved.
I thought perhaps applying heat with a hair dryer might work, and unfortunately it didn't provide the heat required. I also didn't have an electric paint stripping gun which might have produced the temperature to soften the coating.
As hot water had worked initially I decided why not immerse the plate into boiling hot water and let it sit for a few minutes.

I thought maybe the polymer might remove easily with a fine steel wool. Instead it lifted off a gummy mess which fused into the steel wool bundle as the temperature of the coating cooled.
What did appear to work was scraping off the coating with a thin steel scraper tool that I use for removal of paint off windows.
However when the plate was removed from the boiling water I only had less than five minutes before the polymer would start to re-harden making it difficult to scrape and release off the plate. What I had to do was re-immerse the plate into boiling water and then continue. The good news is this method worked and I successfully stripped all the coating from the thin stainless steel plate surface.

After scraping all the coating off I took some fine grade sandpaper and gave the surface a sanding using first up and down strokes with the paper then rotating the plate sideways and going across the metal at 90 degrees. I followed this with extra fine sanding sponge (same direction) and then a wipe with a clean rag.

Next post you can read about and view photos of a small new work that began as a drawing onto the metal and then worked into using a drypoint needle.
Interesting way to save a failed solar plate - thanks! I had a failed plate, in that the image was a bit pale and needed definition. I found that a burin, gently used, worked well to add some punch to the image. I cut through the coating only - it cut like butter - but worked wonders to clarify the image. Not sure if it would hold up to repeated printings,but I printed a small edition successfully. So now I feel that I need not despair completely if I have mis-timed a plate.
ReplyDeleteI have saved my Solarplates from a recent trial for this very reason also, except I didn't have to deal with the mess you did; I had miserably underexposed the plates during initial exposure and all the polymer washed away!
ReplyDelete